
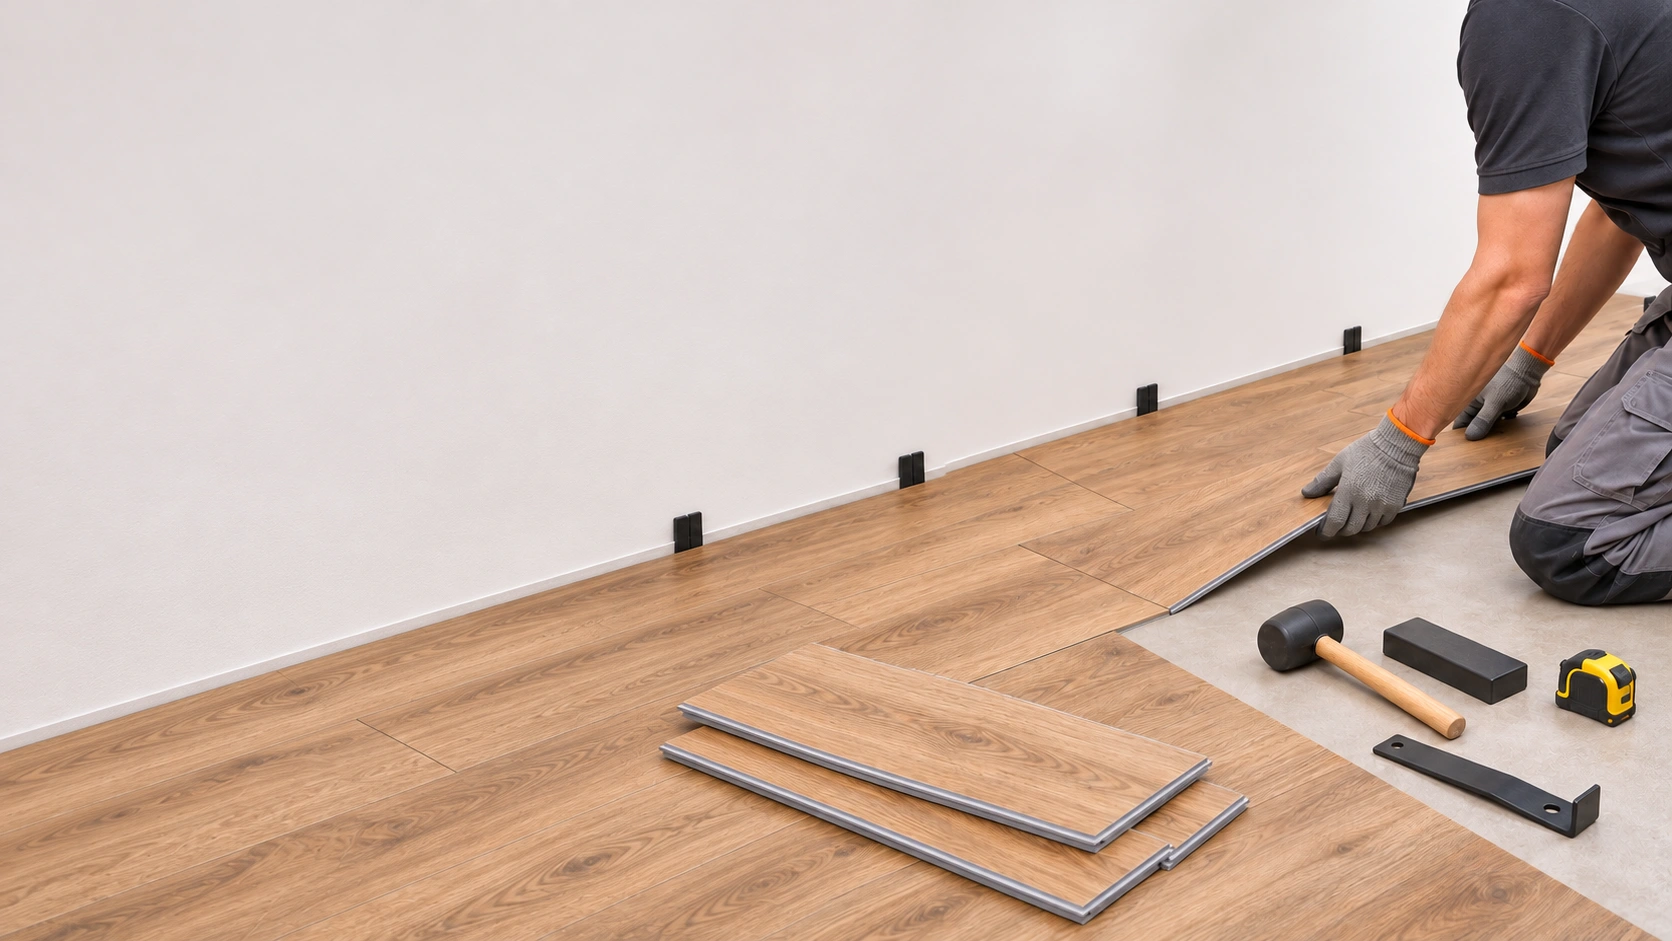
Overview
This is a planning overview for SPC flooring installation, not a substitute for the selected product’s instructions. Confirm whether the model is designed for a floating click installation, and use its specified locking method, accessories and site conditions.
Tools Required
Prepare the tools and installation documents required by the selected floor and locking system. Use compatible equipment rather than assuming that every SPC joint accepts the same tools.
- Measuring tape and marking tools
- Level or straightedge and required moisture-testing equipment
- Cutting equipment approved for the selected flooring
- Compatible joint tools, only where expressly permitted
- Specified underlay and accessories, where required
- Spacers suited to the specified movement gap
Step 1: Subfloor Preparation
Check that the subfloor is stable, clean, sufficiently flat and within the model’s moisture limits. Measure and record the conditions, and correct defects using compatible preparation materials. Do not rely on a rigid plank to bridge an uneven base. Follow the product-specific flatness and moisture requirements.
Step 2: Acclimation
Follow the stated storage, acclimation, room-temperature and humidity requirements. Do not assume that SPC needs no acclimation or that a fixed 24-hour period applies to every model. Inspect the model, batch and planks before installation.
Step 3: Plan the Layout
Plan row widths, end-joint offsets, movement gaps, doorways and transitions from the room dimensions and product instructions. Check any heated areas, fixed loads and separate rooms. Trial the layout and confirm the locking direction before cutting or installing the full area.
Step 4: Install the Planks
Follow the particular joint system’s sequence and method. Use a tapping block, mallet or pull bar only where the manufacturer permits the compatible tool. Do not force or strike a joint using an unapproved method. Check that each connection is closed and level before continuing.
Step 5: Finishing
Fit trims and transitions according to the floor instructions, preserving the required movement allowance. Do not pin a floating floor with fixings or fixed fittings. Inspect joints and finishing, clean using the approved method, and retain installation and product records. The project team remains responsible for site installation.